A Line Day: It’s Seldom Black & White
Jefferson PUD line crew cover a lot of ground. From removing trees from lines on the Toandos Peninsula, to stringing fiber optic internet cable one mile at a time along Discovery Bay, to replacing regulators at the Dana Robert Substation–there’s seldom a dull moment.
Ideally, utility work is a planned event–a response to a known issue or a general maintenance item–but the unplanned is when you see line crew truly in their element.
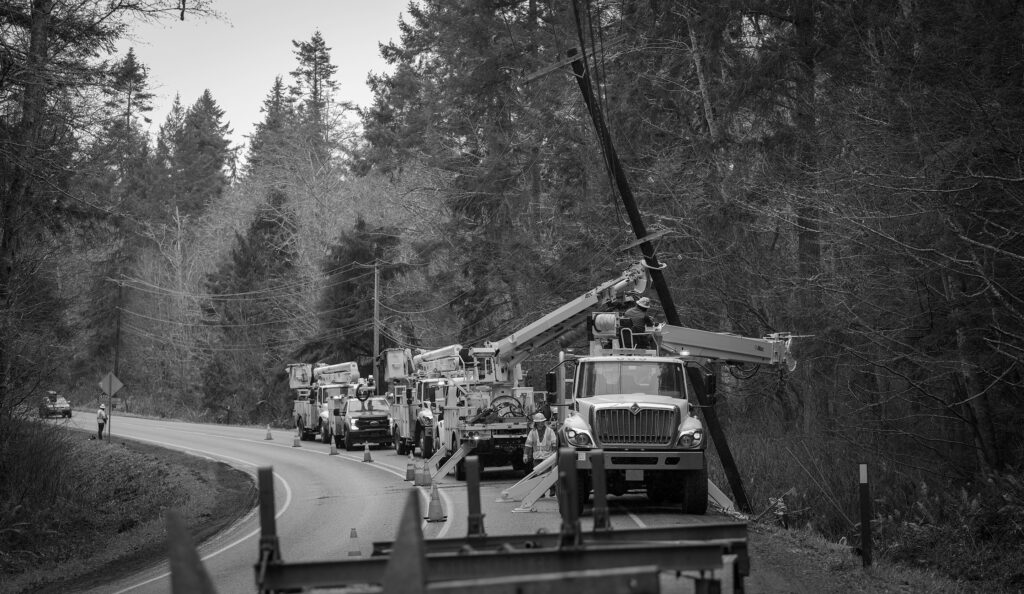
A car vs pole incident is one such event.
Crews responded to a quiet corner of Oak Bay Road near Mats Mats Bay to reports that a vehicle had left the roadway in the 50mph zone and heavily damaged the base of a pole. Crew immediately swung into gear.
Step 1: Secure the pole.
Distribution poles are engineered to support a lot of weight, and they do this by working together. The pole in question was nearly severed at the base. The impact wrenched the pole down guy lines (heavy gauge cable connected to a screw-like ground anchor) several feet, causing a dangerous lean over the roadway. Luckily, everything stayed vertical.
Crew carefully position a derrick digger on the roadway–angled just-so to support the weight of the lines. Derrick diggers are a specialized line truck and basically the Swiss Army knife of the utility world. With boom arm extended and a firm grip on the midsection of the pole. Line crew and flaggers were now ready for a new pole.
Step 2: Rig and transport
Back at the PUD yard, another team picks a pole from stock and begins the rigging process. Everything on a pole has its place, and every pole has different attachments. Along with the pole, crew ready crossarms, insulators, eyebolts, double arming threaded rods, ground wire, square washers, the list goes on and the time clock is ticking.
But should the new pole be fully rigged the yard or done in the field?
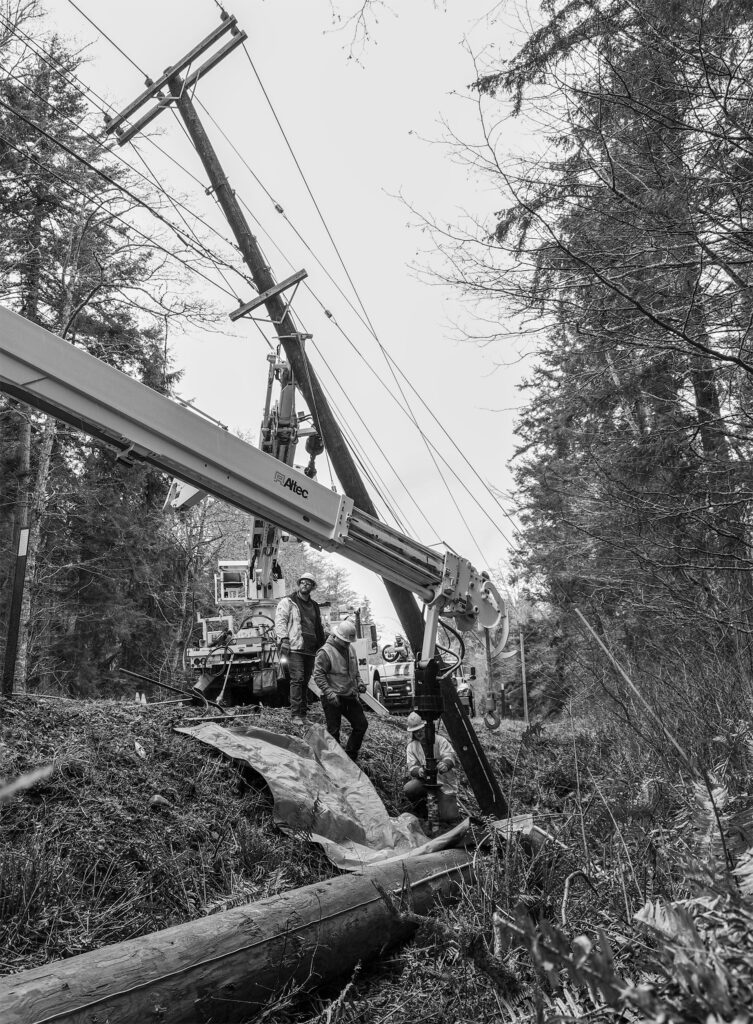
Step 3: Digging in
A second derrick digger is required for this complex job. The vehicle transports the new pole to the site, carefully places it along the roadway, then switches gears and begins boring-down with the built-in auger.
The auger churns soft earth, boring down 4′ before coming up to allow crew to deposit the dirt on a drop tarp for use later. The auger is re-inserted and extended until it reaches a depth of approximately 7 feet.
Next comes the down guy. Down guy lines are the achilles heel of a utility pole, adding much needed support. Designs vary but most are a propeller-shaped implement inserted in the ground by the derrick digger auger. The device twists into the ground, burying itself until only a threaded end remains above ground. A threaded eyelet is attached and ready to support the guy wire and new pole.
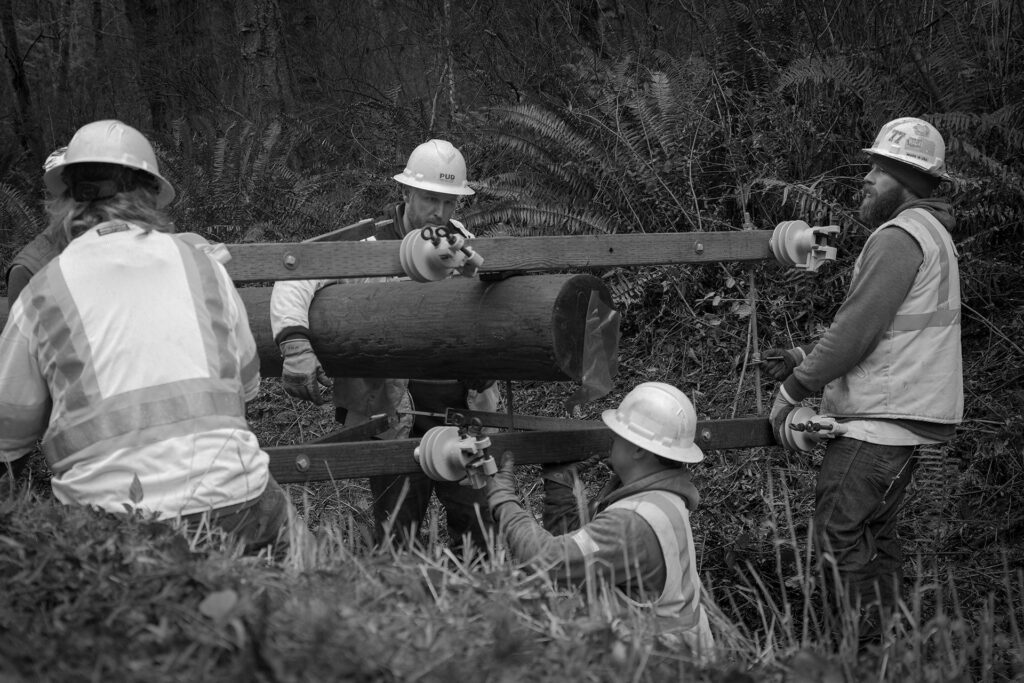
Step 4: Field rig & placement
County ditches are not an ideal place to finish rigging a pole, but the crews do what they have to do.
Using the winch and line extending from the end of the derrick digger arm, the crew supports the new pole. A double crossarm assembly, complete with insulators, is installed and final placement begins.
Weighing in at approximately 2,000lbs, the derrick digger plucks the 50′ pole and delicately places it in the hole. Armed with a compressed air tamp, line crew fill in around the pole and compress the soil down by hand.
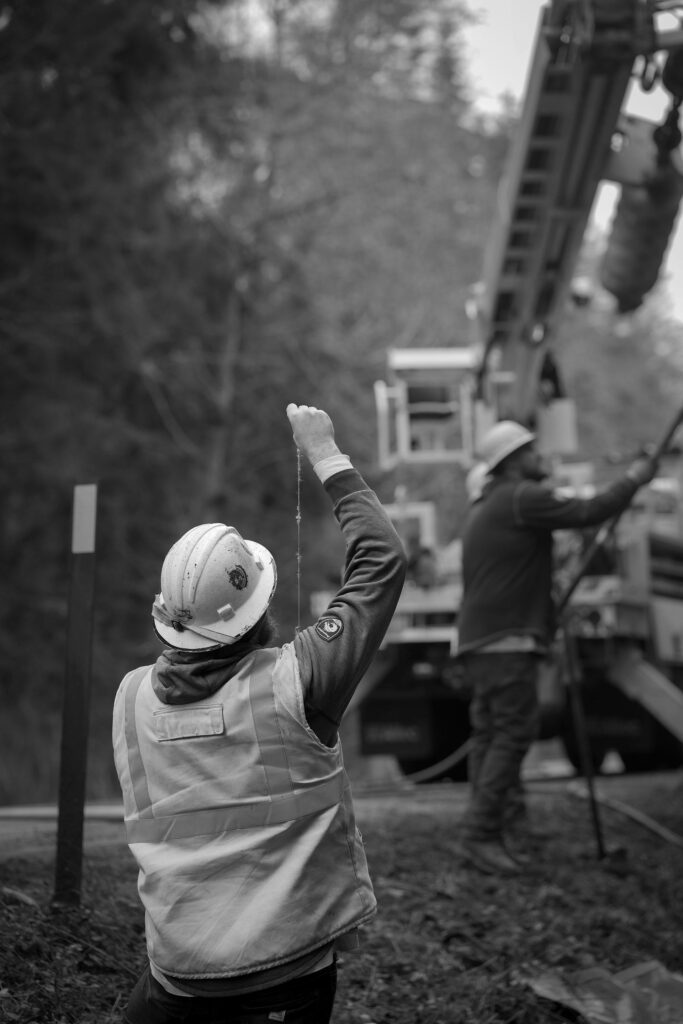
To the side, crew members use the tried and true plumb bob method to ensure the pole remains perfectly upright from multiple angles.
Step 5: The safe transfer of power
With the pole placed, crews can now turn to guiding the 3-phase power to its new home.
With the damaged pole now safe to remove, it’s time for the fit and finish, with the down guy line being connected and tensioned, communication lines temped into place, and site cleanup completed.
For line crews, every day presents a new challenge and it’s seldom black and white.